SERVICES
WEB DESIGN
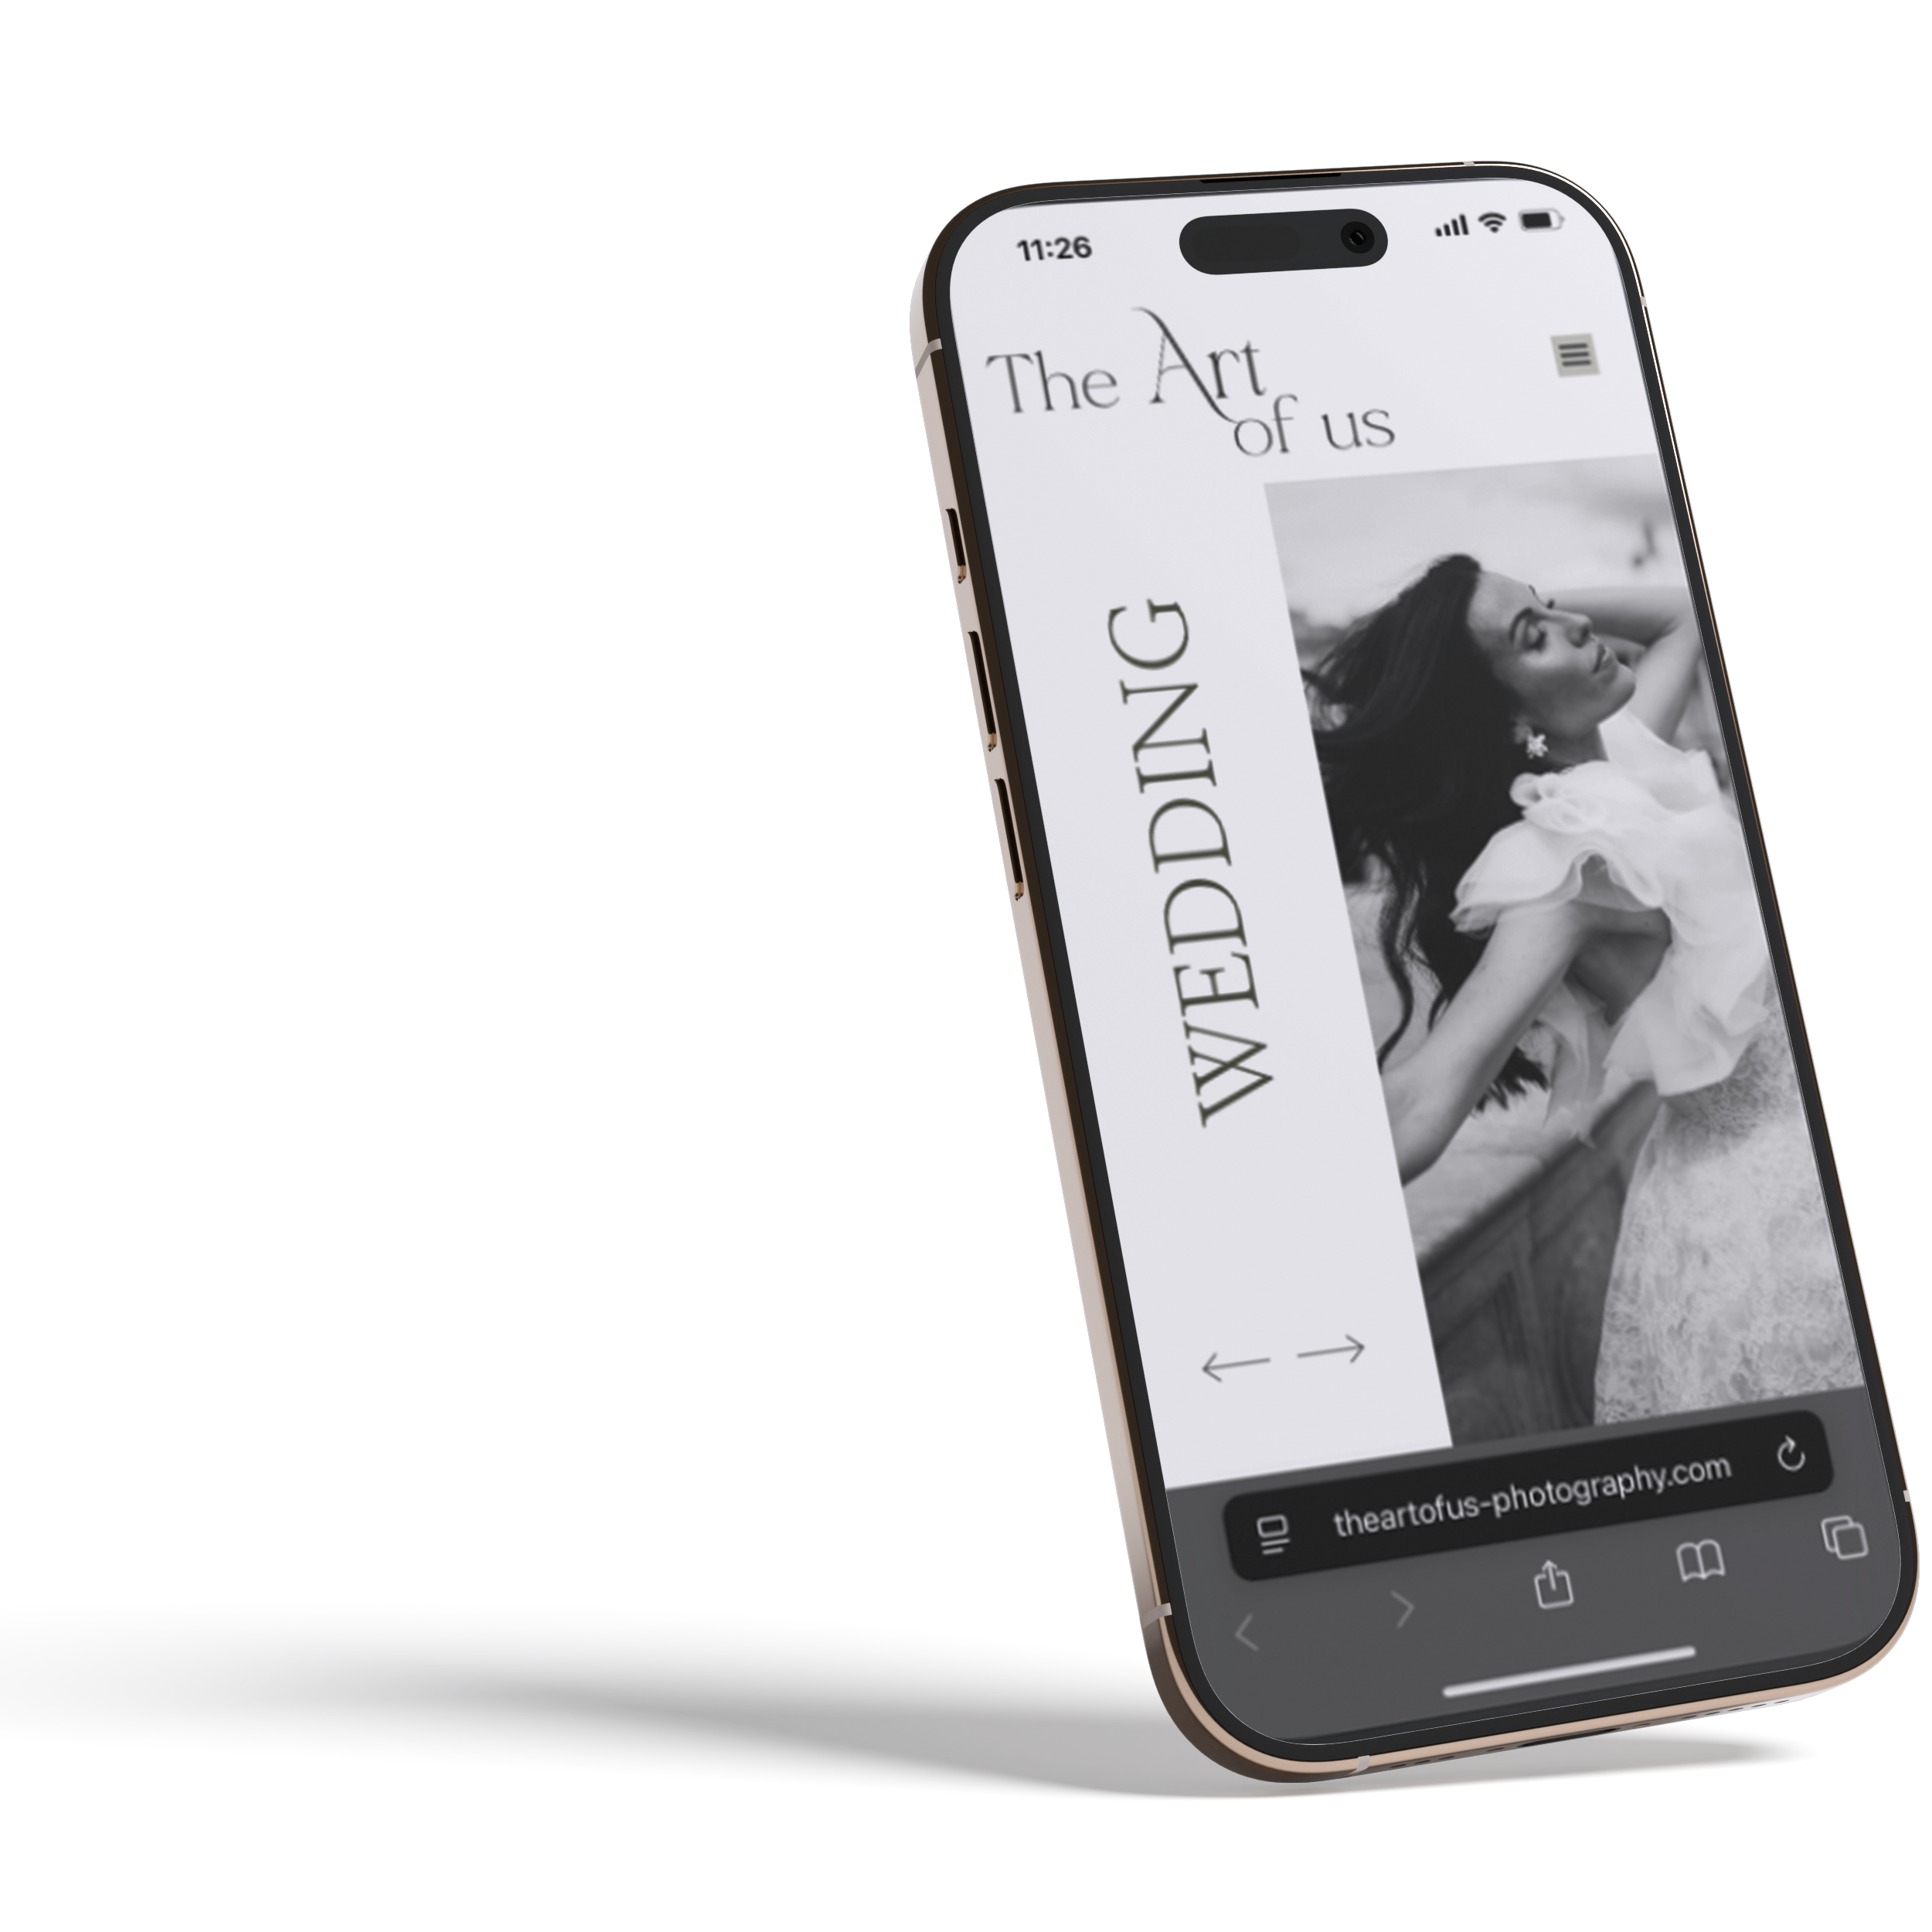
NI Designer is primarily a web design company. Although I have worked in this space for 15 plus years I have spent the entire lifespan of NI Designer perfecting how to take your ideas and put them into a website that achieves the goals that you set for it.
Being based in Saintfield, County Down I have built up a client base throughout Northern Ireland of happy clients who are achieving their online goals through quality designed and constructed websites.
NO EXPENSE SPARED
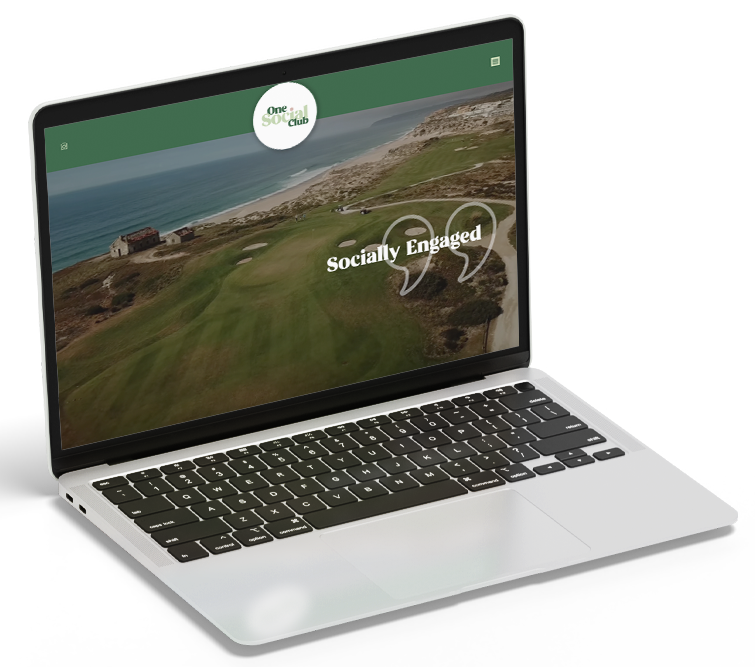
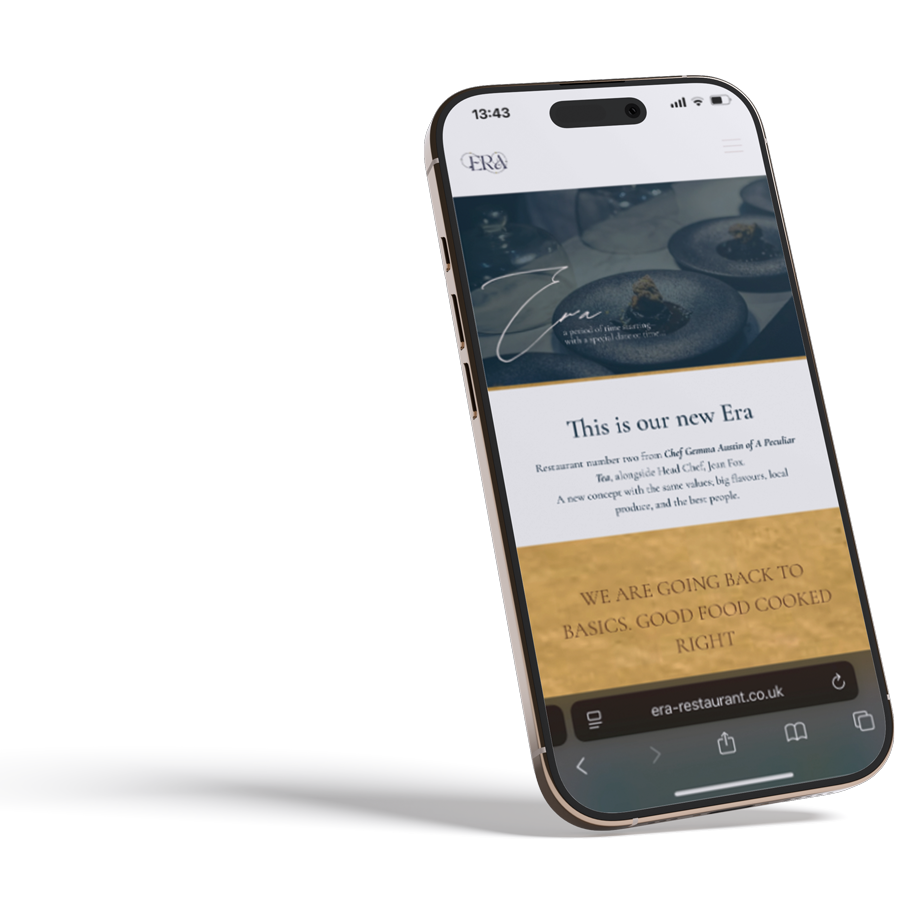
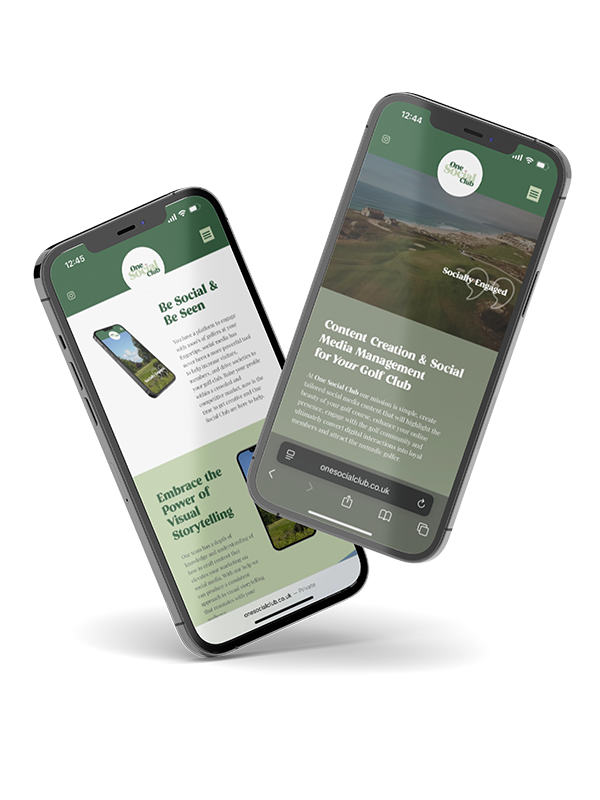
I have invested in ultra reliable Virtual Servers to host your websites, I only work with the very best premium Wordpress Theme technology and EVERY website is built from scratch, you will NEVER be given a cookie cutter template website.
Every project starts with a blank screen but is backed up with years of experience of what works, and more importantly what does not work!
The whole process is a collaborative process with the client to make sure they are happy with how the project is progressing and ultimately that they end up with something they are proud to call heir own.
HERE'S HOW THE PROCESS WORKS

1
DISCOVERY MEETING/CALL
COMPETITOR ANALYSIS
I am a meeting guy, I hate zoom, I love to meet my clients and get to know them. What my clients do varies so much that it really helps me to get a handle on you and your business and where you want it to go.
I will then go away and do my research into the relevant industry competitors and what they are doing and how we can do it better.
2
MOCK UP's
I am a little old school with this stage, I still like to get my illustrator app open and work on what 'looks' best, as you can sometimes get hooked into doing what's easiest when you just jump straight into building the website and skipping this step.
It's much better to design something that looks great and then figure out how to build it! This is probably because I was a graphic designer long before I was a web designer so the aesthetic is still so important to me.

3
IMPLEMENTATION
So we have gone through the mock up, we have made amends, added in the things you totally forgot (don't worry it happens all the time!) You are happy with how it looks and i'm ready to build.
The hard work has been done as far as i'm concerned this is the easy bit. I bring your vision to life. There is so much going on in the background of this, keywords and google analytics and all that good stuff that will make your business grow once we introduce your website into the big wide world.
It can be good to start teasing your audience on social media at this stage that something big is coming, if your excited, why not get your followers excited!
Once built it's time to TEST TEST TEST, until everyone is happy with how it works. I will have put all the tech a thorough check to make sure everything is operating in the background to deliver as it should.
Now its time to go LIVE!


GET IN TOUCH TODAY
OPENING HOURS
Monday - Friday
09:00 - 18:00
Saturday - Sunday
CLOSED
MY ADDRESS
58 Todds Hill Park
Saintfield
County Down
BT24 7FB